Concept of Frame Buffer
Frame Buffer is a memory area used in OpenGL to store rendering results. It is a container that includes multiple buffers to hold various information about the rendered image, such as color, depth, and stencil. The frame buffer is the endpoint of the rendering pipeline, where the rendering results are ultimately written, and then displayed on the screen or used for other purposes, such as subsequent rendering processes.
There are two types of frame buffers in OpenGL:
- Default Frame Buffer: This is usually defined automatically by SDL or GLFW and is typically associated with the display area of the window. Rendering to the default buffer will directly display the results on the screen.
- User-defined Frame Buffer: A frame buffer created by the user, allowing the rendering results to be stored in custom attachments, such as textures and render buffers. It is commonly used for off-screen rendering, post-processing effects, etc.
Before using a frame buffer, it needs to be complete. A complete frame buffer must meet the following conditions:
- Attach at least one buffer (color, depth, or stencil buffer).
- Have at least one color attachment.
- All attachments must be complete (retain memory).
- Each buffer should have the same number of samples.
Attachments
A frame buffer can contain various attachments:
- Color attachments
- Depth attachments
- Stencil attachments
Attachments can be of two types: Textures are versatile image storage objects that support sampling and flexible post-processing, suitable for scenarios where subsequent access to rendering results is required. In the following code, we create a frame buffer and bind a color texture attachment to it:
  GLuint framebuffer;
  glGenFramebuffers(1,&framebuffer);
  glBindFramebuffer(GL_FRAMEBUFFER,framebuffer);

  GLuint screenTexture;
  glGenTextures(1,&screenTexture);
  glBindTexture(GL_TEXTURE_2D,screenTexture);
  glTexImage2D(GL_TEXTURE_2D,0,GL_RGB,width,height,0,GL_RGB,GL_UNSIGNED_BYTE,nullptr);
  glTexParameteri(GL_TEXTURE_2D,GL_TEXTURE_WRAP_S,GL_CLAMP_TO_EDGE);
  glTexParameteri(GL_TEXTURE_2D,GL_TEXTURE_WRAP_T,GL_CLAMP_TO_EDGE);
  glTexParameteri(GL_TEXTURE_2D,GL_TEXTURE_MIN_FILTER,GL_LINEAR);
  glTexParameteri(GL_TEXTURE_2D,GL_TEXTURE_MAG_FILTER,GL_LINEAR);
  glBindTexture(GL_TEXTURE_2D,0);

  glFramebufferTexture2D(GL_FRAMEBUFFER,GL_COLOR_ATTACHMENT0,GL_TEXTURE_2D,screenTexture,0);
After binding this color attachment, rendering to the frame buffer will store all content in this texture, which we can later use for post-processing, such as inversion, grayscale, etc.
Render Buffers are storage objects optimized specifically for frame buffers, offering higher performance, suitable for direct rendering to the screen or situations that do not require subsequent processing. They are typically used for depth and stencil buffers, used only for testing without needing rendering. The following code creates a depth and stencil render buffer:
  GLuint renderBuffer;
  glGenRenderbuffers(1,&renderBuffer);
  glBindRenderbuffer(GL_RENDERBUFFER,renderBuffer);
  glRenderbufferStorage(GL_FRAMEBUFFER,GL_DEPTH24_STENCIL8,width,height);
  glBindRenderbuffer(GL_RENDERBUFFER,0);
glFramebufferRenderbuffer(GL_RENDERBUFFER,GL_DEPTH_STENCIL_ATTACHMENT,GL_RENDERBUFFER,renderBuffer);The following code checks the completeness of this frame buffer, then binds the default frame buffer, specifying that the subsequent rendering will be displayed directly on the screen:
  if(glCheckFramebufferStatus(GL_FRAMEBUFFER) != GL_FRAMEBUFFER_COMPLETE) {
      std::cout << "ERROR::FRAMEBUFFER:: Framebuffer is not complete!" << std::endl;
      std::exit(1);
  }
glBindFramebuffer(GL_FRAMEBUFFER, 0);Kernel Effects
Another benefit of post-processing on a texture image is that we can sample color values from other areas of the texture. For example, we can take a small area around the current texture coordinate and sample multiple texture values surrounding the current texture value. We can combine them to create interesting effects.
A Kernel (or Convolution Matrix) is a numerical array resembling a matrix, centered on the current pixel. It multiplies its kernel values by the surrounding pixel values and sums the results into a single value. Essentially, we are adding a small offset to the texture coordinates around the current pixel and merging the results based on the kernel. Here is an example of a kernel:
This kernel takes the values of 8 surrounding pixels, multiplies them by 2, while multiplying the current pixel by -15. This kernel example applies a weight to the surrounding pixels and a significantly larger negative weight to the current pixel to balance the result.
Most kernels you find online should have all their weights sum up to 1. If they do not sum to 1, it means the final texture color will be either brighter or darker than the original texture value.
Kernels are a very useful tool for post-processing; they are simple to use and experiment with, and many examples can be found online. We need to make slight modifications to the fragment shader to support kernels. We assume that the kernels used are all 3x3 kernels (in fact, most kernels are).
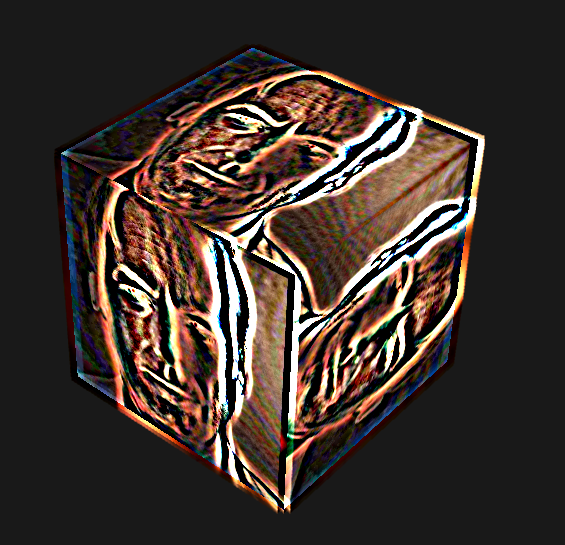
In the fragment shader, we first create an array of 9 vec2 offsets for the surrounding texture coordinates. The offsets are constants that you can customize to your preference. Then we define a kernel, in this example, a sharpen kernel, which samples all surrounding pixels to sharpen each color value. Finally, during sampling, we add each offset to the current texture coordinate to get the texture to sample, then multiply these texture values by the weighted kernel values and sum them together.
This sharpen kernel looks like this: